Auto-Delete Images: Expiration and Cleanup Guide
Auto-Delete Images: Expiration and Cleanup Guide
For temporary image delivery, expiry should be the default.
It reduces stale links, limits unintended reuse, and keeps your sharing workflow clean.
When you should use image expiration
- Event photo delivery
- Time-limited promotions
- Review-only client drafts
- Internal temporary announcements
Pick a preset (simple starting points)
| Expiration | Best for |
|---|---|
| 24–72 hours | Sensitive previews, internal approvals |
| 7–14 days | Client handoff galleries, campaign collaboration assets |
| 30 days | Public but temporary announcements |
Setup workflow
- Upload images.
- Set the expiration date/time.
- Share the gallery or direct links.
- Monitor open statistics (so you know it was used).
- Disable the links when expired, or extend if needed.
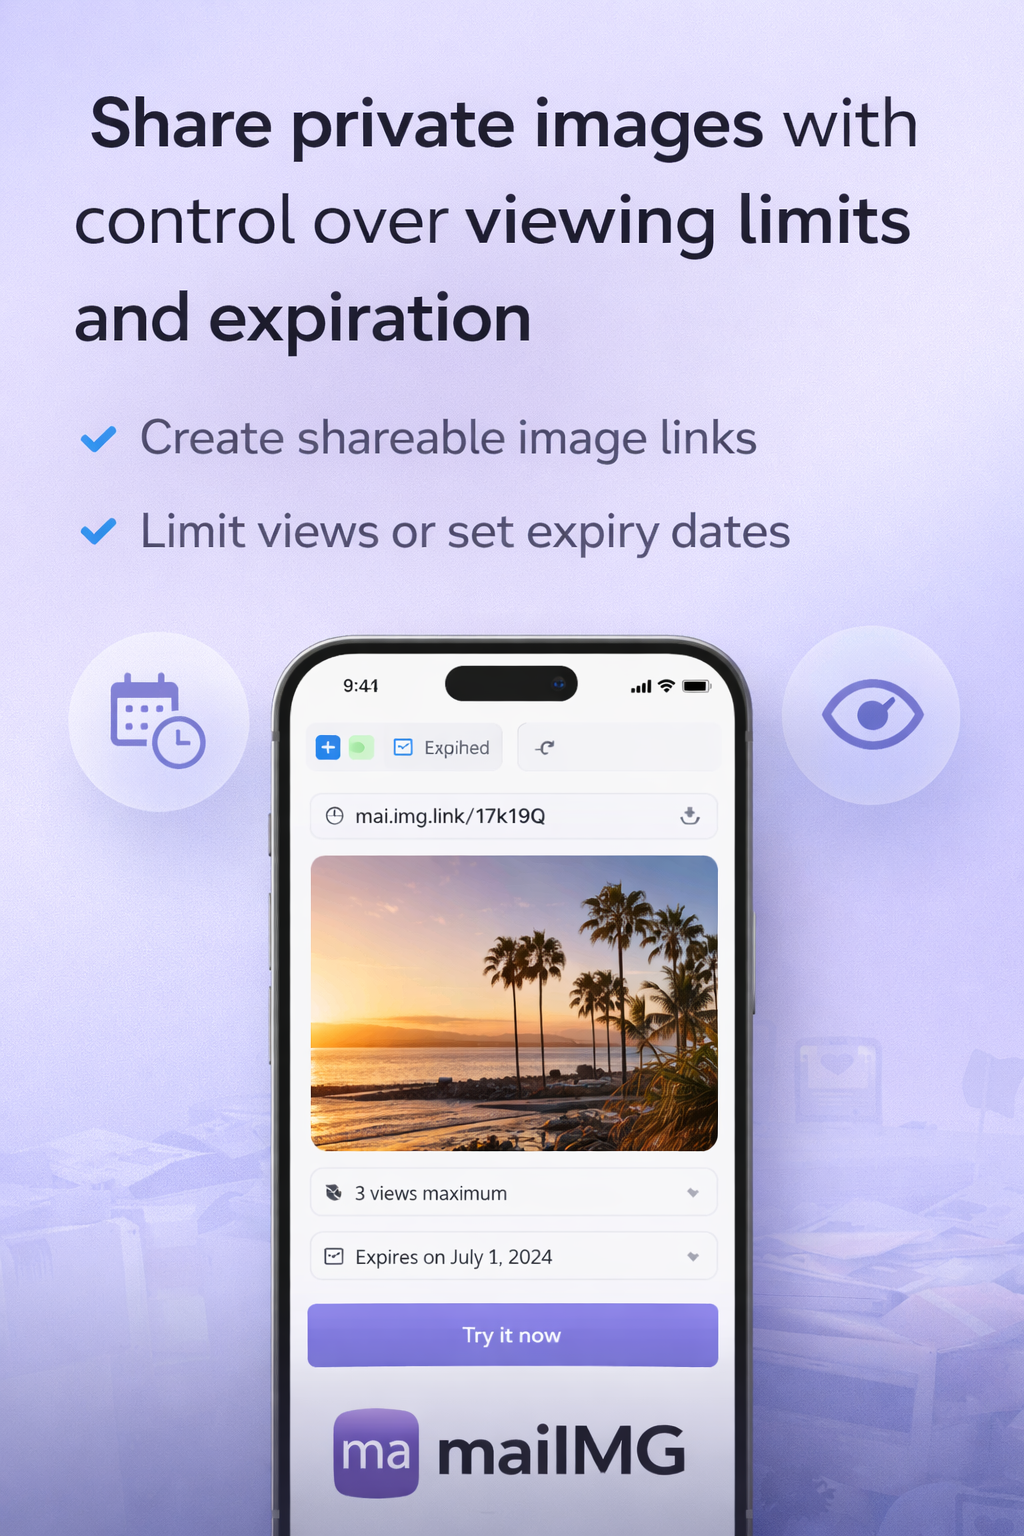
Optional: add notifications (if your tool supports it)
If your image-sharing tool supports read alerts (for example Telegram) or email checks, enable them for important audiences. If not, expiry alone is still the key control.
Share images in a cleaner way
- Group assets by campaign so cleanup decisions are simple.
- Send a short expiry note in the share message (so recipients understand the timeline).
- Keep one owner responsible for extension decisions.
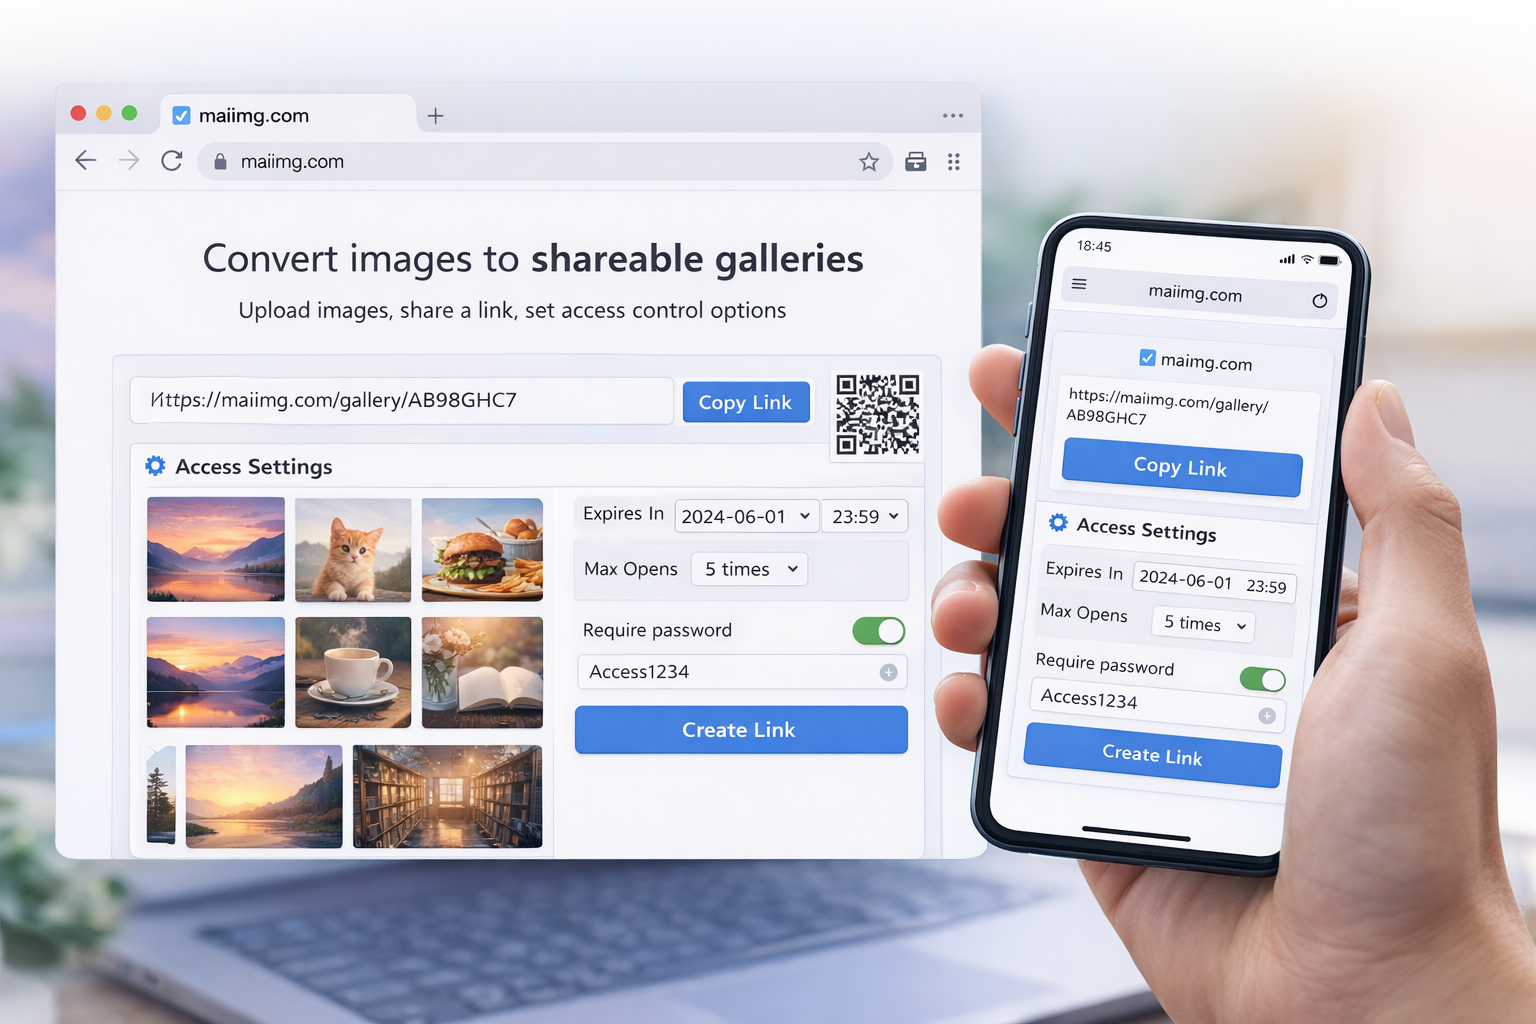

Common mistakes
- No expiration on temporary content
- Mixing permanent and temporary assets in one gallery
- Forgetting to disable/extend links when the campaign changes
Summary
Auto-delete is really lifecycle control: set clear expiry windows, then review them as part of your normal sharing routine.